The Ultimate Hiking Backpack Buying Guide: Best Picks and Expert Tips
- Rytis
- Feb 7, 2025
- 7 min read
Updated: Mar 2, 2025
Discover the key features, top brands, and expert advice to choose the perfect hiking backpack for your next adventure

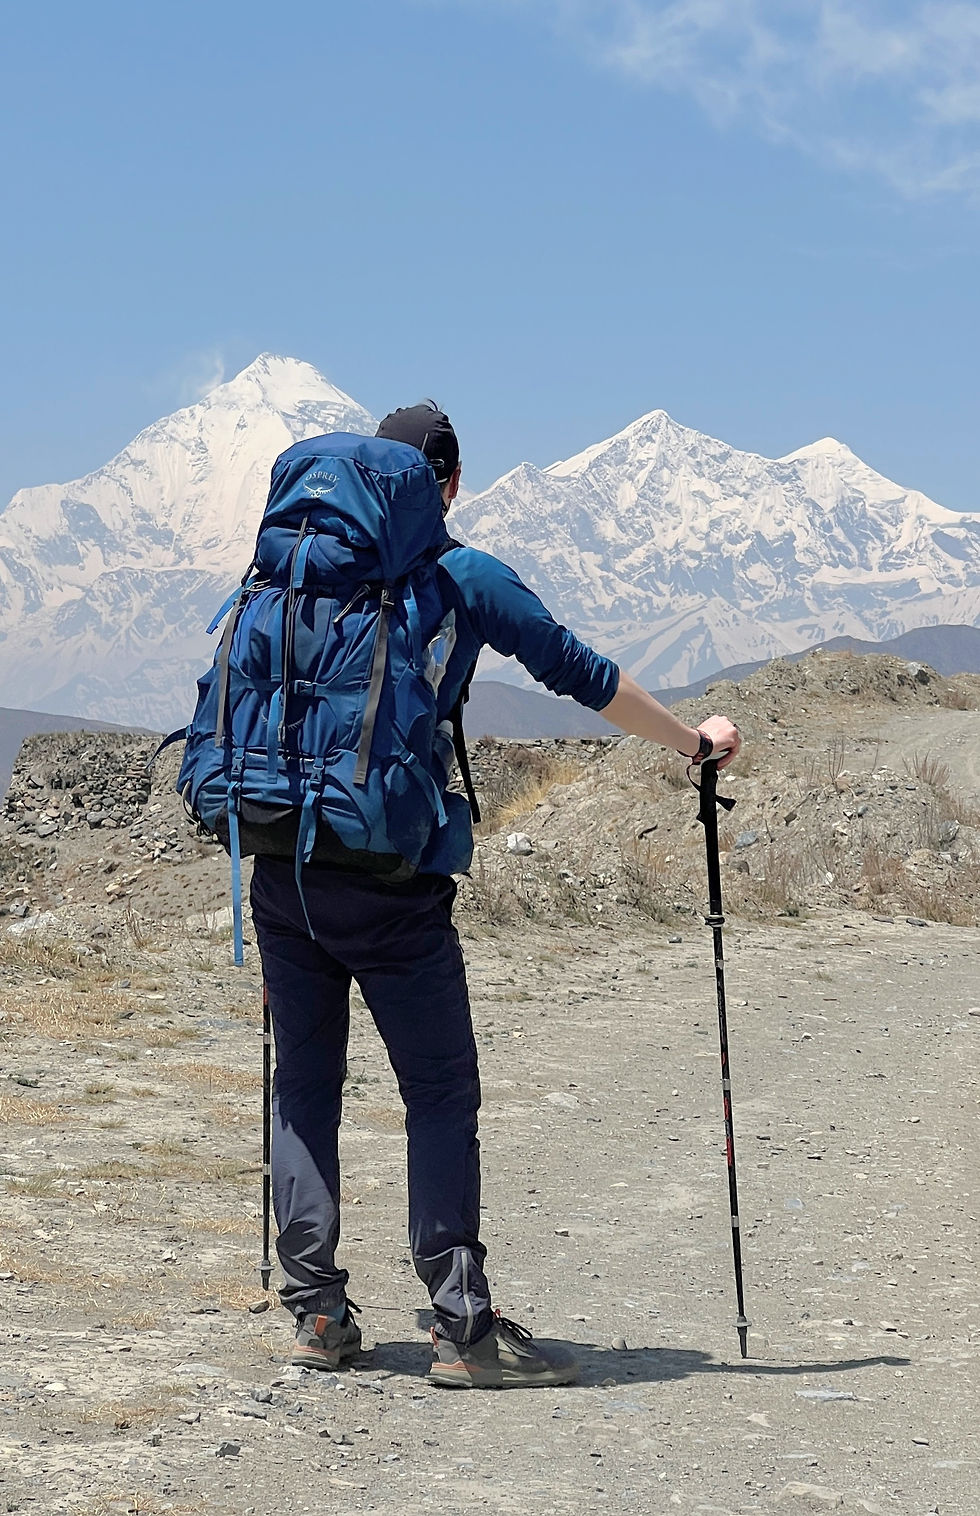
Whenever I am on the trail I always keep an eye on other hikers' / mountaineers' gear. I am intrigued by the reasons why people choose one backpack vs the other. With this post I am sharing everything I learned over the years, I will cover my personal gear review, features to focus on when looking for a backpack and the latest market recommendations.
Tip #1 - Bigger space, bigger load

Focusing on a bigger bag capacity usually means more space for things you don't really need. I had a friend ask me for advice while looking for a backpack. He ended up going for a 60L bag despite my suggestion to go smaller. No more than six months later, he came to me saying that he was looking for another bag that was lighter, and he admitted that he regretted not listening to me. DON'T be him—think twice before you buy and consider all the tips mentioned below.
If you are serious about the outdoors, weight is your biggest enemy. Think carefully about all the gear you buy and consider investing in better-quality equipment from the start. Higher-quality gear usually weighs less but comes with a steeper price tag. It may deter you now, but in the future, you will realise the value of this advice.
The same goes for backpack space. If you have a 30L–40L bag, you will be able to fit enough for a multi-day hike as long as you carefully consider what you pack. I'm not saying that bigger bags have no use case, but they are intended for multi-day hikes where you need to carry your sleeping system and food supplies. Make a conscious choice based on your specific needs.
As a result, you may have to invest in two bags. I would recommend choosing a high-quality bag for the type of trips you take most often and, alternatively, looking for a cheaper option for the trips you take less frequently.
Tip #2 - Fit & Comfort
"The best hiking backpacks should feel like an extension of your body. If it doesn’t fit right, it can make a long hike feel endless." – Michael Green, Wilderness Instructor
When choosing a backpack, fitment is one of the most important aspects to focus on. It's not enough to just read reviews or rely on recommendations (including the ones provided below 🙂).
The best advice I can give is to visit a specialized shop where they can measure your torso length and load the pack with weight so you can experience how the hip belt and padding feel. Note: A good specialist is not always guaranteed, so you may need a bit of luck! Alternatively, you can order a few bags and try them out before committing.
These are the areas you should focus on when picking a new bag:
Torso Length – Measure your torso and match it to the pack’s size (small, medium, or large). To measure this yourself, bend your neck forward and feel the small bump behind your neck—this is the C7 vertebra. Measure from this point down to an imaginary line connecting the tops of your hip bones. This measured length will help you find a backpack that fits your torso properly.
Hip Belt – Should sit snugly on your hip bones, taking most of the bag’s weight off your shoulders. Also, check that the backpack isn’t rising above your head, as this may obstruct movement and indicate that the bag is slightly too big for you.
Shoulder Straps – These should feel comfortable when the bag is loaded and adjusted for proper fit without creating pressure points. Some straps come with attachment loops, allowing you to secure a phone holder, hydration bottle, or hydration hose for easy access.
Ventilation System – Helps prevent excessive sweating on your back. Some backpacks have a structure that creates a slight gap between the pack and your back. Personally, I don’t think this should be the main selling point of a backpack—it may help sweat evaporate faster, but you’ll still end up with a sweat map by the end of the day! 🙂
Load Lifters – Help balance weight and keep the pack stable. These are often ignored on the trail because people don’t understand how they work. These small straps, located above the shoulder straps, pull the weight closer to your back so the bag doesn’t pull you backward. If not used properly, you may feel off balance. However, over-tightening them shifts too much weight onto your shoulders, which can cause discomfort and fatigue in your shoulders and upper back.
Chest Strap – Primarily for comfort, keeping your shoulder straps in place. Most brands also incorporate a built-in whistle for emergencies.💡 Tip: Chest straps are great for hooking your thumbs during long hikes to reduce fatigue or for securing your camera when it’s not in use.
Gender Fit – Some brands design backpacks specifically to accommodate differences in body shapes between men and women. For women, it’s a good idea to check whether your chosen brand offers a version designed for a better fit, rather than opting for a one-size-fits-all approach.
Tip #3 - Features & Accessibility

This is another area that will largely depend on personal preference. Some people can manage with a single loading space without extras, while others need pockets and hooks to keep their gear organised. Here are the features you might want to consider based on your individual needs:
Pockets & Compartments – Consider side pockets for water bottles, hip belt pockets for snacks or your phone, and main compartment access. Focus on the following:
Top Lid — Adjustable/Removable: An adjustable top lid allows you to expand the bag’s capacity, giving you more options. If the top lid is removable, you can take it with you if you stash the backpack in a hold. (This was quite useful in Nepal when my backpack was on top of a Jeep or a bus, and the lid contained spare batteries and other electronics that I wouldn’t want to lose.)
Multiple Access Panels for Easy Gear Retrieval: These allow you to access your gear without having to unload everything when you arrive at a campsite. Although it’s not a necessity, smart packing and good organization can make up for a lack of multiple access points.
Hydration Reservoir Compatibility: Great for easy access to water. Most bags today have specialized pockets for hydration systems, allowing you to drink on the move. However, they can occasionally leak, which might lead to anxiety about getting your gear wet. That’s what happened to me, and now I rarely use hydration systems. A smart water bottle works perfectly and also gives you a chance to take short breaks while making it easier to monitor your water intake. (Hydration systems stashed within a backpack can either run dry before you reach camp or leave you conserving water and not drinking enough.)
Attachment Points & Loops: Ideal for trekking poles, ice axes, or sleeping bags. Extra hookup points can be incredibly helpful, for example, to dry your clothes or attach a solar panel while on the move.
Compression Straps: These help stabilize your load by reducing excess space and preventing gear from shifting. (I’ll make another post on how to load and set up your pack so it’s stable and comfortable.)
Rain Covers: Some bags come with a rain cover to protect against soaking in the rain. (A waterlogged bag adds unwanted weight.) It can also double as a seat cover. Bags without rain covers tend to be treated with water-repellant material, but unless they’re fully waterproof, they may not completely protect your gear. See advice below…
Tip #4 - When Staying Dry Matters: Bin Bags to the Rescue
There’s nothing worse than opening your backpack at the campsite only to find that the dry layers meant to keep you warm are wet. Just like most waterproof clothing, most backpacks will start to leak after prolonged exposure to rain. Instead of spending hundreds on a fully waterproof bag, simply use a sturdy bin bag as a liner inside your backpack.
Waterproof covers and bags with TWR (Treated Water Repellency) do help, but we’ve seen cases where the cover itself fills with rain. This not only allows water to seep inside the backpack but also adds unnecessary weight. Simple zip lock bags can also help protect your gear while also keeping it organised.

Our kit review
Here’s a list of our kit before we get to market recommendations:
Multi-Day / Wild Camping Bags
Osprey Aether 60 AG (Men’s)
Osprey Kyte 46 (Women’s)
These are our largest bags, and they’ve lasted us for years. We comfortably used them for three months in Asia, three weeks in Nepal (where we needed both warm and cold clothing), the West Highland Way trek with camping gear, and Auguste used hers on the Tour du Mont Blanc (TMB).
Midrange
Lowe Alpine AirZone Pro 35:45 Pack
I’ve used this for Alpine climbs as well as on the TMB. Without camping gear, it’s the perfect size for a multi-day trek, and I can also squeeze in all the filming gear I need.
Market Recommendations
Here are some backpack options you may want to consider for your adventure. Note: I focus on the optimal bag choice for trips like the Tour du Mont Blanc (TMB).
Model / Link | Capacity | Weight (kg) | Price (Approx.) | Strengths |
30L / 40L | ~1.4 | €60 / £55 | Affordable, ventilated back, multiple compartments | |
33L / 30L | ~1.1 | €110 / £110 | Lightweight, excellent ventilation, versatile for various activities | |
32L | ~0.9 | €110 / £110 | Extremely lightweight, minimal design, good ventilation | |
36L | ~1.49 | €130 / £130 | Stable load distribution, multiple access points, organized storage | |
30L / 38L | ~1.4 | €130 / £130 | Excellent ventilation, good organization, sturdy frame. Jade was highly rated by our travellers!!! | |
35L | ~1.67 | €140 / £120 | Innovative airflow system, multiple compartment access, rain cover | |
35L | ~1.2 | €160 / £160 | Eco-friendly materials, lightweight, padded straps, rain cover | |
38L / 36L | ~1.76 | £160 / €160 | Adjustable back system, rugged build, multiple access points |
Let me know what you think of these suggestions! Feel free to drop your favourite brand or any advice I may have missed in the comments below.
*This blog contains some affiliate links, meaning that if you click on them and make a purchase, I may earn a small commission at no extra cost to you. This helps support my work and allows me to keep creating valuable content. Thank you for your support!
Comments